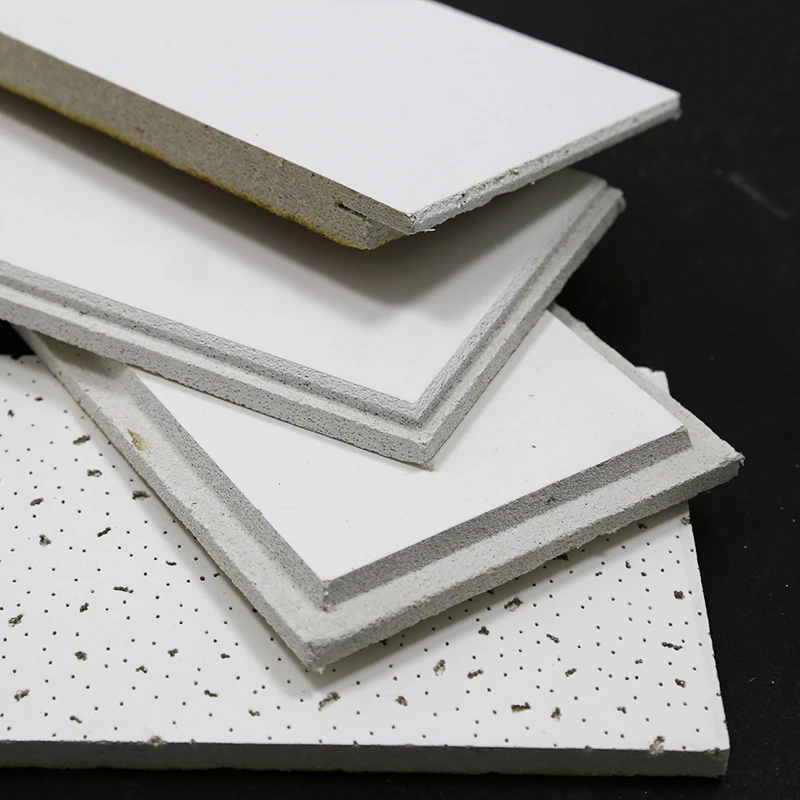
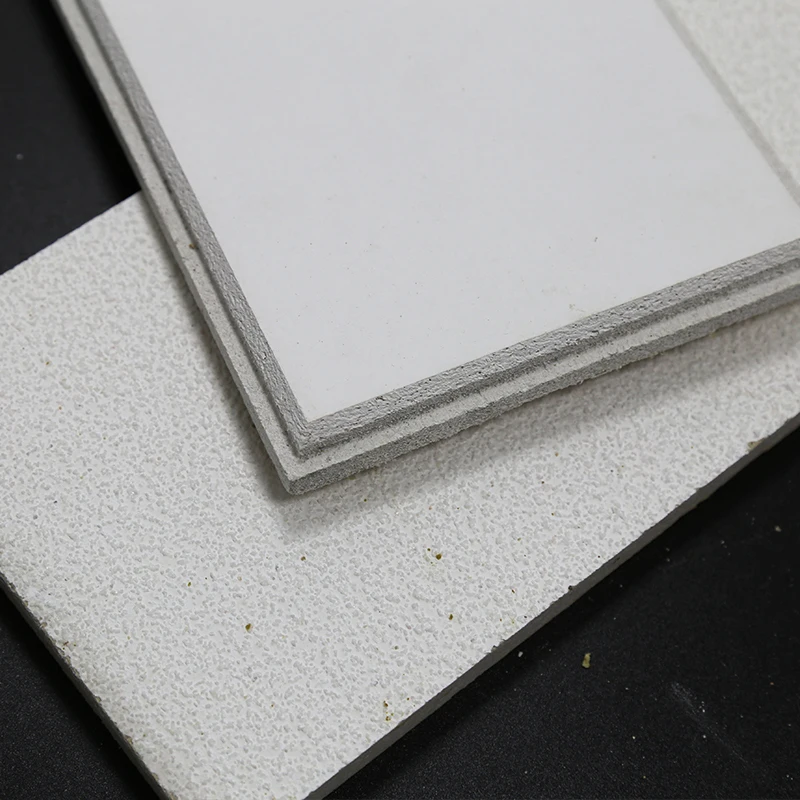
The room will be nice, stylish and new with the use of ceiling tiles. Not only do they add to the overall appeal of space, but also work great in covering up damaged ceilings. A fun and easy DIY project that beginners can do, is the installation of suspended ceiling tiles. This guide will take you through the installation of these tiles step by step. We will even include some pro tips and tricks to help you get it right.
Step 1: Measure The Room If you have decided to install Wholecell tiles in your room, then the first thing that you are required to do is measure the room. First, measure the length of your room and then the width. Multiply these two numbers together to find the total area of your ceiling. That will give you the combined square footage. After doing so measure up the size tiles you chose, now divide that number by total area. This lets you know how many tiles to purchase for your project.
Examine the Ceiling: Having your measurements, take a closer look at the ceiling and check for cracks or ridges. We will want to correct whatever we observe wrong But if there are little holes, cracks or rough spots you can fix them to make the surface smooth again. You may also wish to paint the ceiling or frame around all surfaces with wood for a perfectly neat finish.
Locate the Beams: After quick prep, move forward to find out where are main beams in your ceiling. Both are supplied to aid the ceiling tiles. Use a pencil to mark where the beams are. Using a level, as shown on the right here is an excellent way to ensure your markings are straight and true. Thus you can ensure tat your tiles will be fit exactly.

Cross Tees: Once the main runners are secure, it is now time to install cross tees. Cross tees are the pieces which interlock between main runners. You will need to leave equal spaces and this can be determined by the size of tiles that you are choosing. Now the cross tees can be snapped into position on the main runners.

New suspended ceiling tiles can help anyone to remodel just about any space without having to shell out a ton of money. There are so many styles, colors and textures to choose from you can build the look that is just right for your space. Not only that but you can even install these ceiling tiles by yourself or with a friend. Brighten Up and Make Your Room Look Like New by Replacing the Ceiling

Suspended ceiling tiles are a gentle way to renovate the room. The whole guide is in 5 easy steps to install tiles very fast and on a rapid speed. Begin by measuring the space with regard to any existing damage; Locate ceiling main beams Then, you would install the main runners and cross tees, edge trim as well as the tiles themselves These tips are to ensure that you never mix any of the tiles up, remember always wear protective gear on your hands, and choose a tile size wherever necessary for available space in your living area or purpose such as bathroom kitchen garden etc.. plan ahead buy pre-finished tiles with adhesive so it is easier!!! So, thanks to these much-needed fixes you can finally get that ceiling looking all new and professional again!
expert shipping and loading logistics solutions designed to meet the needs of international installing suspended ceiling tiles. skilled team of logistics experts provides comprehensive solutions, making sure that you have a smooth and efficient transfer of goods across borders. From initial loading final delivery, we oversee each aspect shipping with care and precision. are proud of our ability to deliver timely efficient, economical, reliable services that meet the needs our customers. When you're sending small parcels or huge containers We have the knowledge resources to get your products to their destination safely and on time.
are thrilled to provide installing suspended ceiling tileswith an exclusive personal service to print their logos onto packages no cost. This unique service lets you improve your image your business and create a lasting impression on your recipients.
Original China, top producer of mineral fiber ceiling tiles, has been recognized as global leading company in the field. Our ceiling tiles are well-known for their durability acoustical properties. We are proud serve our customers from all over the world with top-quality products that meet the installing suspended ceiling tilesrequirements the market.
Diferent customers may use different sizes thickness ceilings for installation,we can make dimensions according the requirements of customers various countries.Mineral fiber ceiling tiles' thickness could be 7mm20mm, and over 12 patterns of design the surface can be installing suspended ceiling tilesfor customers.Our new model comes with high performance on the resistance to moisture .